Friday 11 July 2014

Decking Part 5 - Finishing

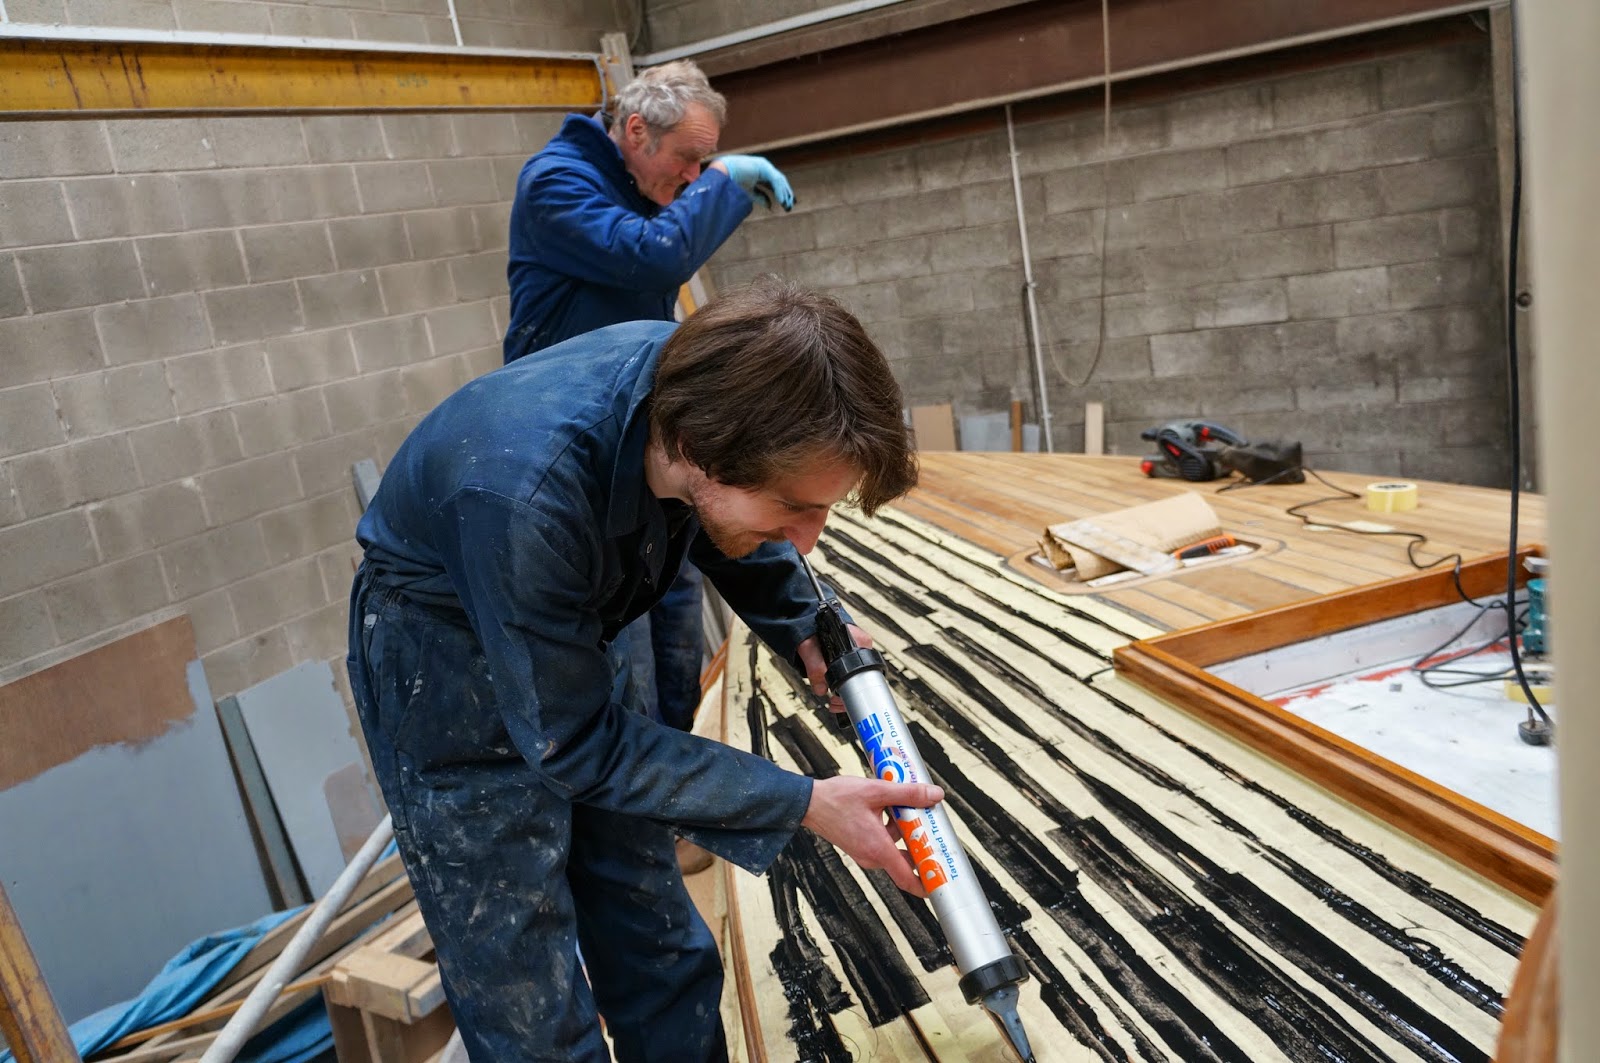
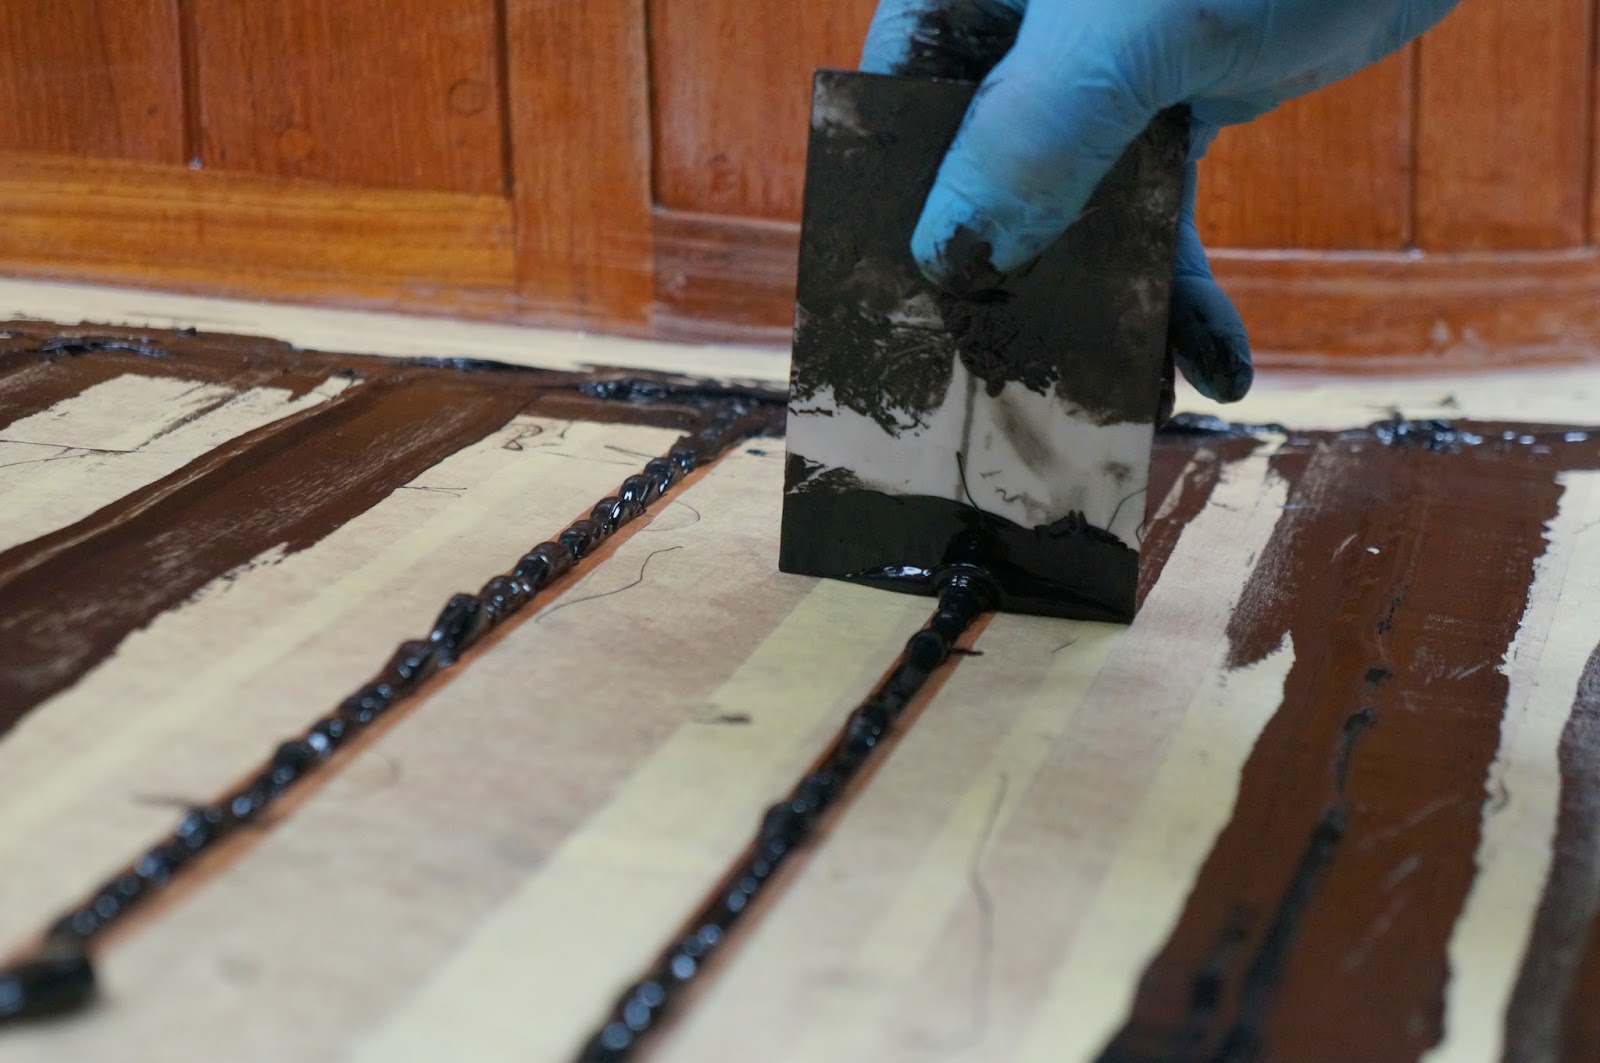
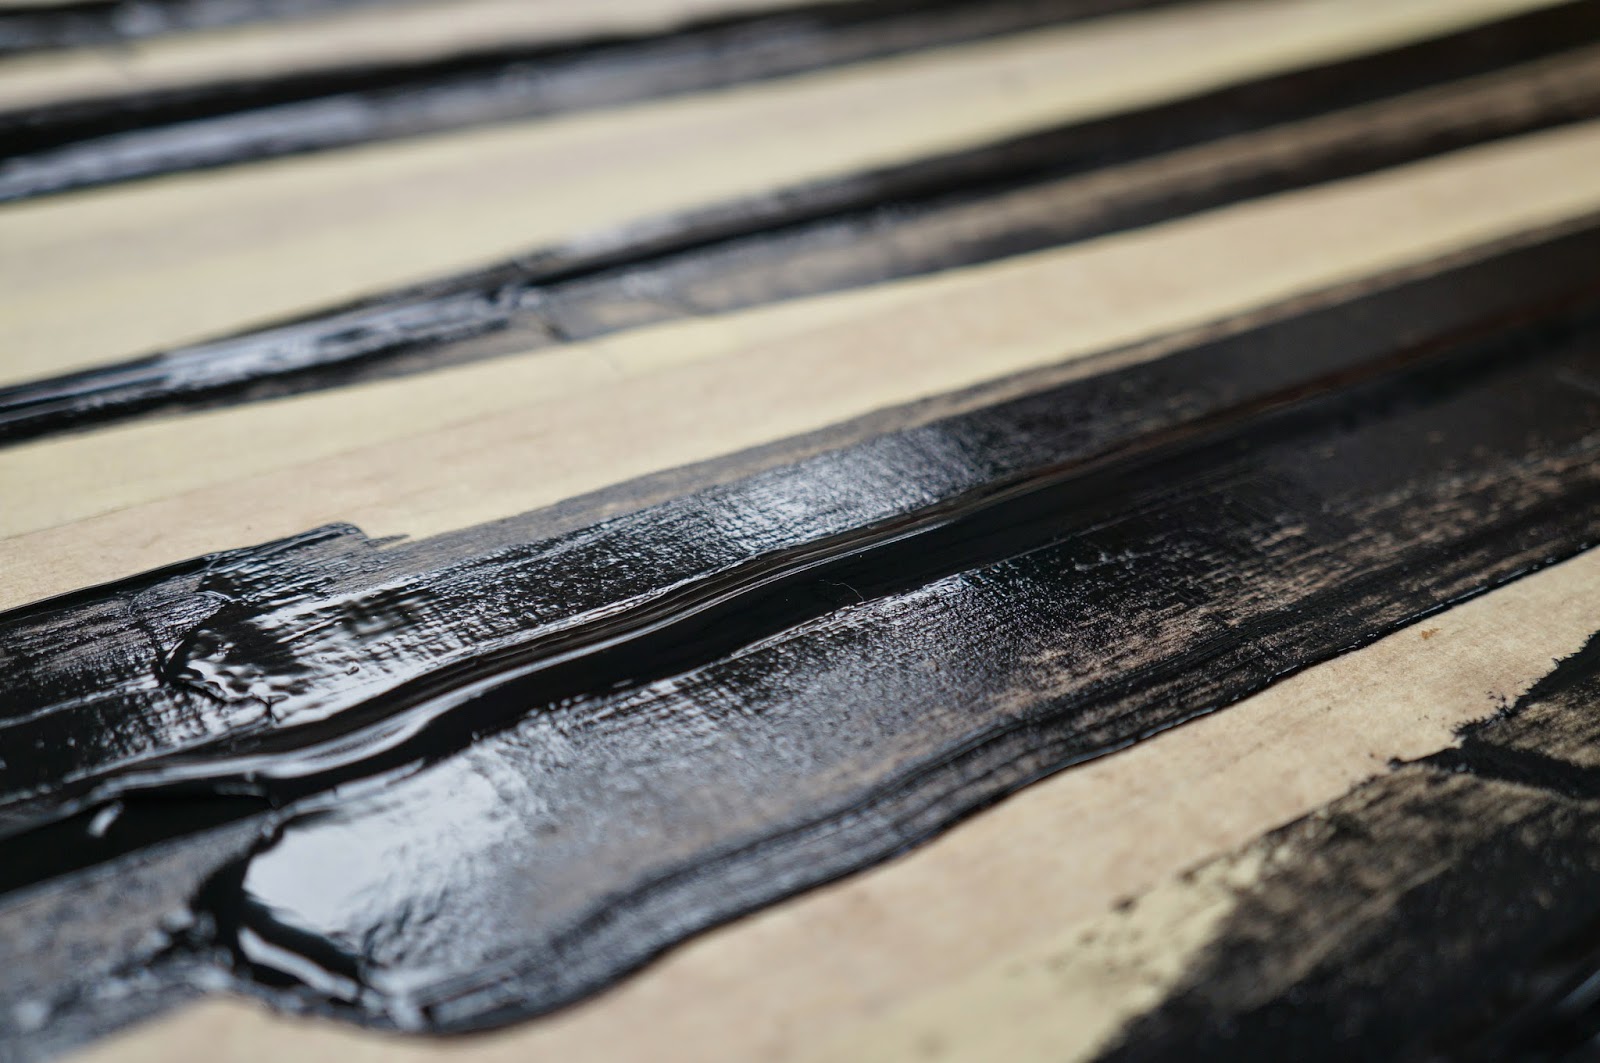
Pealing all the sticky masking off wasn't very picturesque but did leave nice clean lines of caulking ready to slice off with a sharp chisel.


The next step was sanding, the majority of which we used the air powered random orbital with 80 grit discs, using a sanding block to get in to the edges.


A very dusty job but with a quick hoover up the results are very satisfying.


One of the first jobs I did before starting the decking was to fit bits of scrap ply up against the inside of each skylight opening. I used acrow props inside supported from the keel not only for safety but it was also practical to have somewhere to put cumbersome tools, and employees.


Saturday 5 July 2014

Decking Part 4 - Bonding & Caulking

Happy that all the planks and gaps were perfectly spaced and masked, each strip was laid out and de-greased using Sabaclean 48 and 3M disposable panel clothes.


A very sticky process indeed, working in a team of four we used an air powered sausage gun to apply Sabadeck to the thoroughly prepared marine ply substrate and the underside of our teak strips. A notched spreader was used to ensure a good even coat of glue was applied before laying, spacing and screwing each plank in position.


We ditched the air gun in favour of a more controllable hand operated sausage gun for the final stage of the Saba adhesive system, the imaginatively named Sabacaulk, which we applied with a fine nozzle filling from the bottom upwards in order to minimise the chance of air pockets.


A flat spreader was modified to provide a 2mm arc over each seam and carefully dragged over the 100 meter plus of caulking. A process neatly perfected by the time we had finished.


The Saba decking system was chosen by recommendation of Robbins Timber who supplied pretty much everything needed for this project. I found useful information regarding quantity calculations, application methods and drying times on both their website and Saba's